Love Crochet Pumpkins but Hate Sewing and Shaping the Segments? Try These!
You know that feeling when you are 90% done with a crochet project… and then comes the sewing. Ugh! 😄
(Of course, we know that not everyone feels this way. There are people who don’t mind sewing things together. But here we’re talking to those of you who would happily skip that part. 🙂)
Most crochet pumpkins are made in a way that, after finishing and stuffing the pumpkin, you have to use yarn to pull it together and create the segments. The yarn is wrapped around the outside of the stuffed pumpkin to give it its segmented shape. In this post, we want to show you two of our crochet pumpkin patterns that are different.
No-Sew Granny Stitch Pumpkins
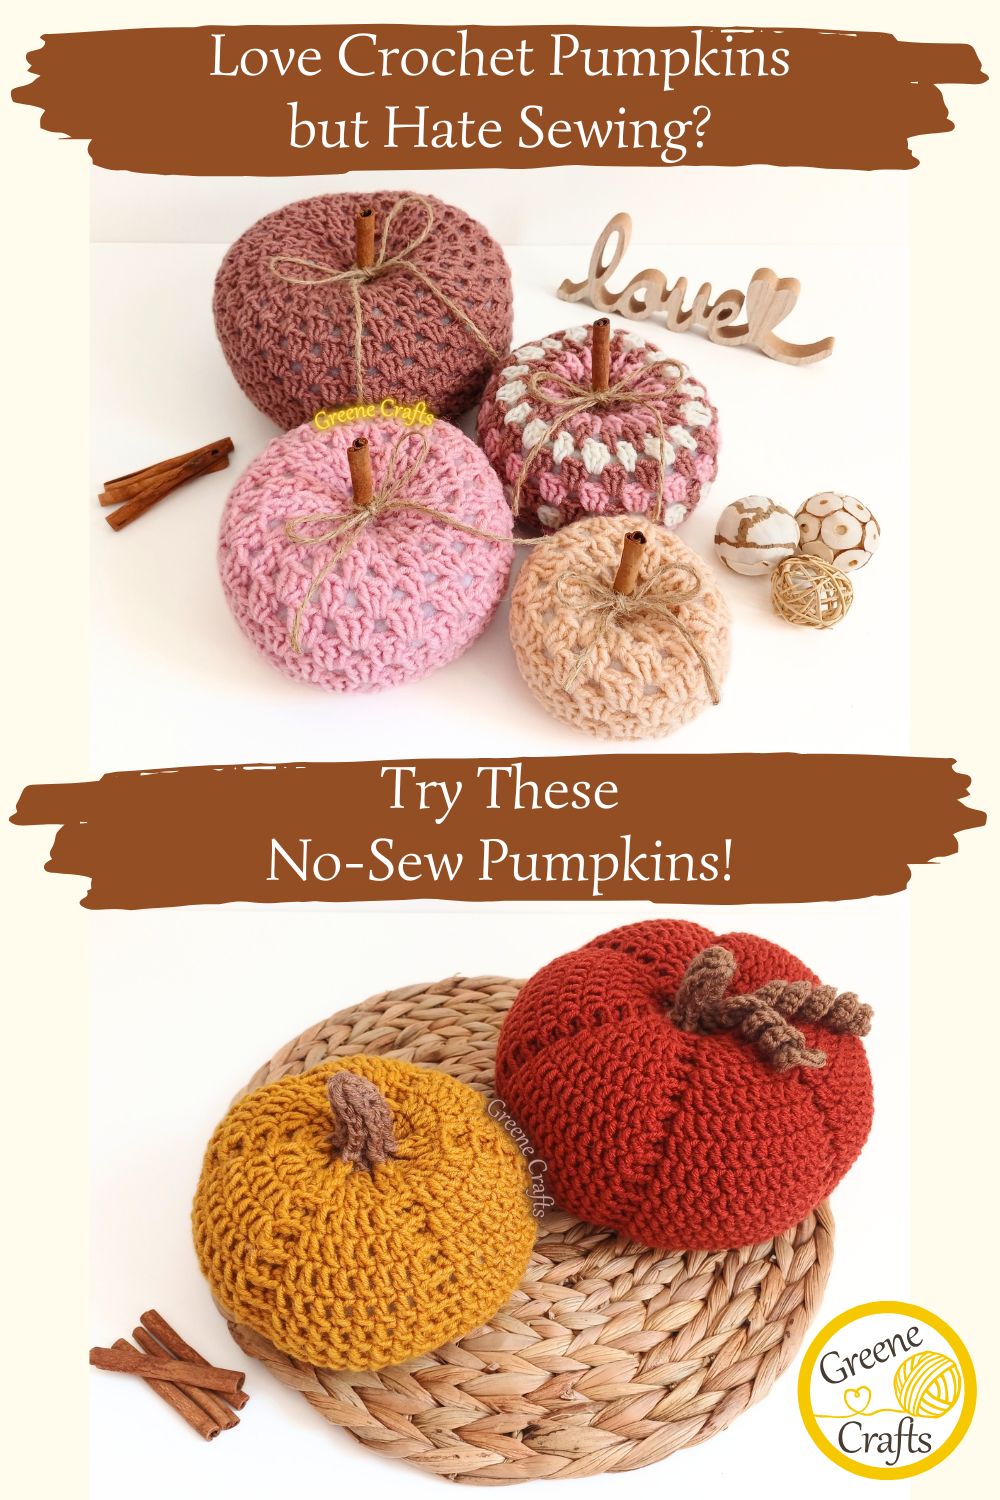
This crochet pumpkin pattern includes three different sizes, so you can choose the size you like, or make all three for a little variety. They look lovely together in a basket as fall home decor, and you can also stack them to make a cute fall centerpiece.
You can decorate them however you like. Use a cinnamon stick, a small twig, or a wine cork for the stem, and add some ribbon or twine for the tendrils. For our pumpkins, the cinnamon sticks stayed nicely in place without any glue, so we didn’t use anything to secure them. We also love how these pumpkins look mixed with other decorations in a basket, such as dried seed pods or cut-out autumn leaves.
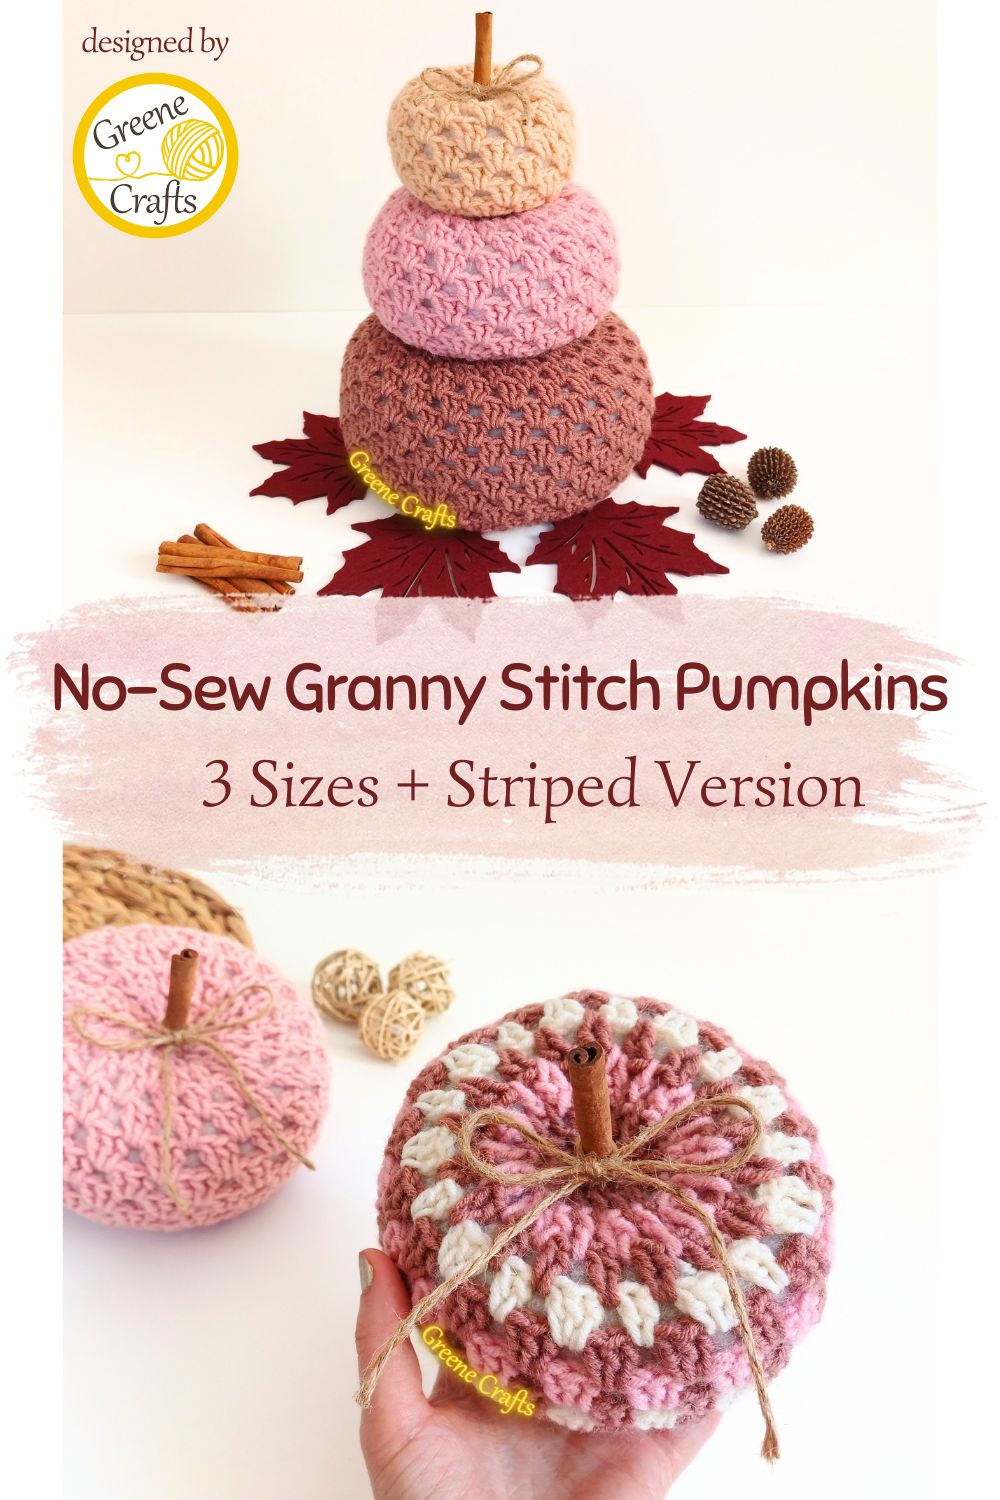
In addition to the three sizes, the pattern also includes instructions for making striped granny stitch pumpkins. This means you can mix and match the sizes and choose whether you want to make them in plain granny stitch or with stripes. The striped version is also a nice way to use up some leftover yarn from your stash.
The crochet pattern is beginner-friendly and includes 75 step-by-step photos, so you can see exactly what to do in the parts where a little visual guidance is helpful.
For our set of pumpkins, we chose a soft, dusty autumn palette using mauve, dusty pink, honey beige, and off-white. We love how these colors work together – a little muted, a little foggy, and very autumnal.
“Autumn Foliage” Pumpkins
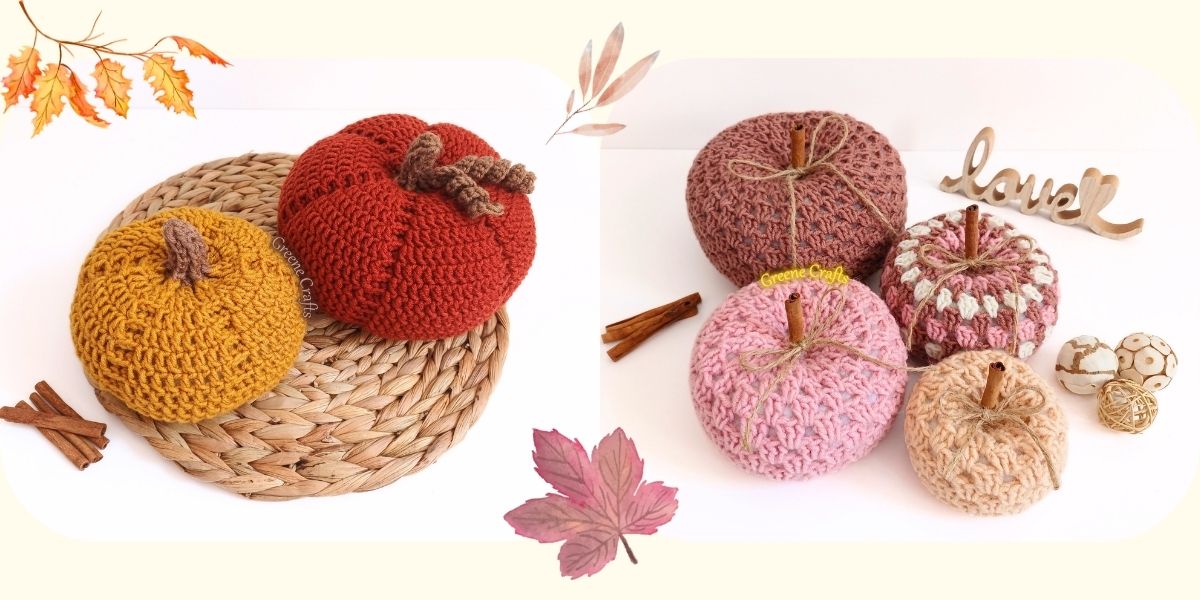
Our Autumn Foliage crochet pumpkins are also beginner-friendly and include plenty of step-by-step photos (57 in total) to guide you through the steps.
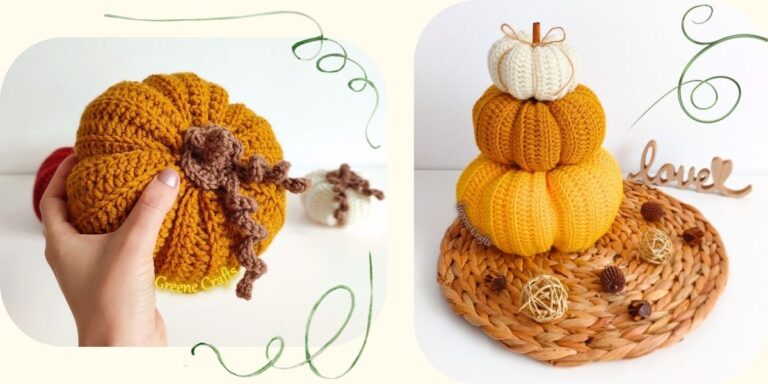
This pattern includes two sizes. The tendrils are optional, and we actually left them off the smaller pumpkin in our sample piece. The pumpkins look lovely without them too.
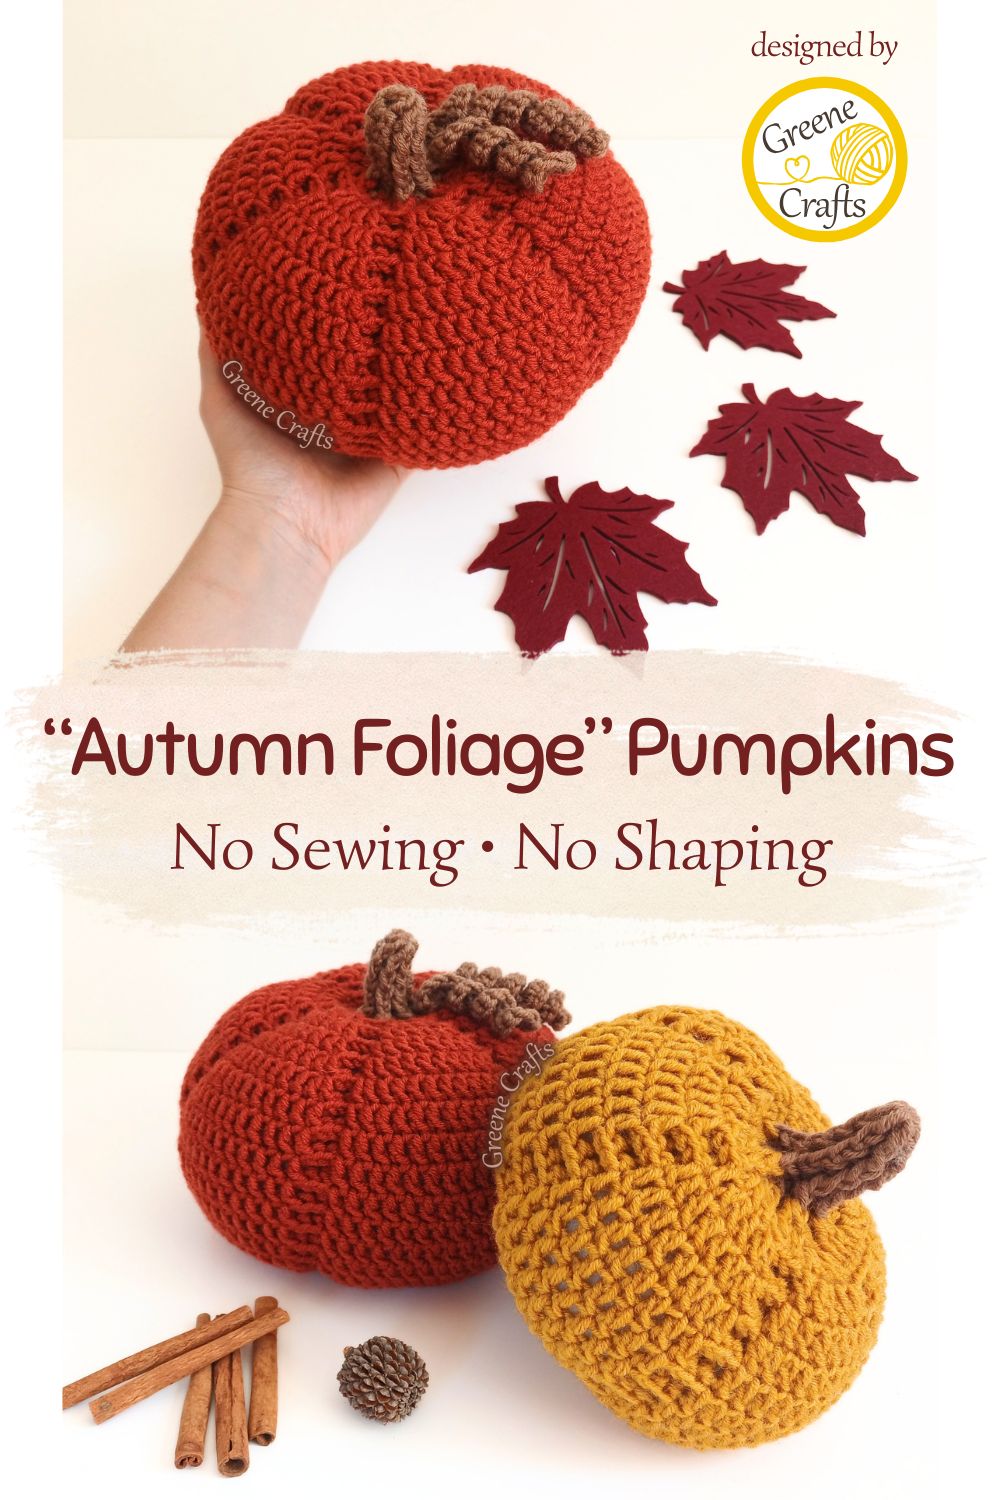
But the really special thing about these pumpkins is that, just like the granny stitch pumpkins above, you don’t have to cinch or shape the segments afterwards. The stitch pattern itself creates the ribbed texture, so the pumpkins still have that segmented look without any extra shaping.
For this set, we went for a different color combination: soft but vibrant autumn colors, with rust red and mustard yellow. These colors remind us of the warm, happy colors of an autumn forest.
What Yarn To Use?
For these pumpkins, we used a wool blend yarn made from 50% sheep wool and 50% acrylic. We love how this yarn gives the pumpkins a slightly fuzzy look and a soft, matte texture. You can make beautiful crochet pumpkin decorations with many different types of yarn, including acrylic, cotton, or 100% wool. We would recommend choosing a yarn without much shine or sheen. For us, wool or a wool blend gives the pumpkins the nicest cozy, autumnal look.
We hope we’ve given you a little inspiration if you’ve been thinking about making some crochet pumpkins but weren’t looking forward to shaping all those segments. Maybe these two no-sew crochet pumpkin patterns will make you want to give it a try after all!
If you would like to make your own, the crochet patterns are available in our shops.